
by CDO Technolgy | Feb 2, 2016 | CDO Technology News, Gaming System, Virtual Reality
For gamers and tech-addicts, 2016 is shaping up to be a storm of incredible leaps forward in virtual reality technology. Although many consoles are taunting potential virtual reality players with cheap models, those who want the full experience know that a spec’d-out PC is a must for the full experience.
Building a VR-ready PC for the Oculus Rift might seem intimidating and expensive at first, but with our guide, you can get in on the fun with any budget:
Important Components:
GPU: Your graphics-processing unit will make or break your VR experience. To sustain the 90FPS world of VR gaming, you need a GPU that won’t slow down at crucial times. Rift developers recommend running either the NVIDIA GTX 970 or AMD R9 390 when using the Oculus Rift.
RAM: Normally, you want a minimum of 8GB onboard ram for optimal game performance. This spec holds true when building a VR-ready console, but investing in an upgrade to 16GBs of onboard ram will guarantee your machine runs smoothly.
CPU: The slowest processor that can get the job done is the Intel i5-4590, or another power-equivalent CPU. Overall, your build can get away with running on a lower-end CPU, as long as you account for potential bottlenecking. Only consumers looking to build a high-end VR machine will warrant investing in an expensive CPU.
Motherboard: Although the motherboard doesn’t directly affect your VR experience, it provides the backbone for the rest of your hardware. Be sure to check the compatibility of any motherboard you are considering with the additional components of your build. Finding a motherboard that supports USB 3.0 is highly recommended.
PSU: When choosing your power supply unit, it’s best to plan ahead. VR setups run power usage-heavy peripherals, and you want to ensure the high-end graphic cards you upgrade to in the future will run properly. Having a PSU powerful enough to prevent immersion-breaking fan-noise is a must.
Storage: Running either a SSD or HDD will work when building a VR-ready PC. However, an investment in an SSD will speed up game performance, keeping you fully immersed in your VR worlds.
Recommended Specs:
Official Oculus Minimum Specs:
- CPU: Intel Core i5-6500 equivalent or greater
- GPU: NVIDIA GTX 970 / AMD 290 equivalent or greater
- RAM: 8GB+ RAM
- 2x USB 3.0 ports
- Windows 7 SP1 or newer
- Compatible HDMI 1.3 video output
Solid Specs:
- CPU:Intel Core i5-6500
- GPU:GeForce GTX 980 or Radeon R9 390X
- Storage 1:128 GB SSD
- Storage 2:1TB HDD
- RAM:8GB DDR4
Mid-Range:
- CPU:Intel Core i5-6600K
- GPU:GTX 980 Ti
- Storage 1:250GB SSD
- Storage 2:2TB SATA HDD
- RAM:16GB DDR4
High-End:
- CPU:Intel Core i7-6700K
- GPU:GTX 980 Ti (alternative: 2x GTX 980 Ti)
- Storage 1:512GB Samsung 950 Pro PCIe M.2 SSD
- Storage 2:4TB HDD
- RAM:16GB DDR4
by CDO Technolgy | Mar 12, 2015 | CDO Technology News, Gaming System
Game Enthusiasts understand that no other platform can match the quality and intensity of the game-play that you can get from a correctly configured Gaming Desktop. These Game Enthusiast Desktops are very specialized high-performance systems where choosing the right components really does matter. If you want to play the most current, intensive, and demanding games you will need to be sure you pick the correct processor, quantity of RAM, hard drive, and of course, GPU (graphics processing unit).
Today’s Gaming Desktop market has many choices. Such as: standard, overclocked and liquid-cooled CPUs, mid to high end graphic cards, multi-graphic card(s) choices for Crossfire and SLI, many different options for RAM, and mechanical HDDs & SSD drive choices. The following is some of the information you will need to correctly customize a good Gaming Desktop.
Processor (CPU)
A solid starting point good Gaming Desktop is quad-core processor. Manipulating and creating 3D objects for the complex games of today requires high frequency CPUs. Systems that have safely overclocked processors can provide up to 25% more CPU frequency for games than standard CPUs. Liquid cooling systems can help to keep the CPU cool when the processor is stressed.
GPU / Graphics/Video Card
The GPU (graphics processing unit) is the processor on the graphics card. It creates the image you see on your LCD monitor. You want the GPU to be able to squeeze the highest number of frames per second out of your gaming system. Playing the most demanding games with the graphics set to the highest resolution and a high frame-rate, will require a high-performance graphics card. If you are running a single 1920 x 1080 monitor, buy the best single graphics card you can afford.
Large & High Resolution Display Screens (Monitor)
A high resolution display requires a lot of GPU memory and that is only available on top end cards. When running high monitor resolutions and 4K displays, multi-graphics cards are a good idea. While adding a second graphics card won’t double the performance; you will typically see a 25-50% increase. Multi-graphic card setups tend to consume a lot of power and can generate a lot of noise, but for those that want the biggest, badest gaming PC on the block, it will be well worth it.
RAM / System Memory
Having enough RAM is always important. It is better to have more memory than not enough. Sometimes it is difficult to determine how much is adequate. More RAM will allow you to do more multitasking without getting bogged down. We recommend at least 8GB of RAM as a minimum to start with and much more for demanding games. A good rule of thumb is having as least a 25% buffer of RAM usage while running very intensive games.
Hard Drives (HDD vs SSD)
The types of hard drive that are most commonly used are the disk based SATA HDD (hard disk drive) and the chip based SSD (solid state drive). By using SSDs you will have increased data read times and decreased seek times versus SATA HDD drives. Sustained read times can also be more than four to five times higher with an SSD as well, seek times are also much faster. Consequently you will see that SSDs, being faster, are rated in nanoseconds instead of milliseconds like SATA drives. Using SSD’s can cause system performance to increase dramatically. For good balance that utilizes the strengths of both technologies we recommended using at least a 250GB SSD is for the O/S and program installation and also 1TB to 3TB SATA mechanical drive for data storage. For extreme performance you should consider using a striped RAID; check out our RAID article for more information.

by CDO Technolgy | Nov 21, 2014 | CDO Technology News, Input Devices, Maintenance
One of the most common computer peripheral that requires thorough cleaning is the keyboard. Keyboards tend to require cleaning quite often due to the propensity of people to eat and drink while they type a document, play a game, or watch a movie. Regular collection of dust is compounded by the accumulation of crumbs and small fragments of all kinds of snacks. In most cases, spilling a drink on a keyboard is more disastrous than crumbs. Because keyboards have many crevices and the key-bed itself is difficult to reach, it is tough to properly clean.
The first step is to determine the best tools needed for cleaning a keyboard. This is vital to avoid physical damage to the keys and the board itself. Isopropyl alcohol is a good cleaning solution to use. Alcohol is typically good for disinfecting and cleaning many things, but more powerful kinds of alcohol should be avoided because they can remove the letter markings on the keys. Therefore, it is important to be sure Isopropyl alcohol is used. There are some electronic cleaning solutions that can also be used. These are typically found in electronics or office supply stores. Another good important item is canned air. A small, hand-held vacuum cleaner can be helpful but not necessary. It is noteworthy to emphasize a small vacuum because small hand held kinds usually have a more gentle suction. It is inadvisable to use a regular vacuum cleaner attachment. The final items needed are Q-tips, a lint-free cloth, and a thin knife or screwdriver. The lint free cloth can be any kind rag or wipe that does not shed lint. Paper towel can be used, but it is not ideal. A final item which can be helpful is a small brush with soft bristles like a small paintbrush.
The first step to cleaning a keyboard is focused on the keys themselves. Always be sure to unplug the keyboard first if it is wired. Holding the keyboard upright on its side, use canned air to blow the entire surface and between the keys to clear loose lint and crumbs. Be sure to keep the can of air upright at all times. Next take the lint-free rag or cloth and dampen it with the alcohol or cleaning solution. Avoid soaking the cloth and never pour or spray the cleaner onto the keyboard. Firmly but gently wipe off the surface of the keys. To clean the sides of the keys, use a Q-tip or the small brush dipped in alcohol and run it around each key. The brush can also be used in dusting of the keys.
The most difficult step in the cleaning process is key removal. Prior to key removal, take a picture of the keyboard or draw a layout of the keyboard. This is important for putting keys back on correctly. To remove the keys from a regular desktop keyboard, insert the thin knife or screwdriver under the corner of a key and very gently pop it up. This must be done with great care because the keys could break if too much force is used. If a key does not pop off willingly then reposition the tool, but do not force the key off. It is recommended not to do this when cleaning a laptop keyboard. The plastic clips attaching laptop keys to the board can break very easily, and it is difficult to reattach the keys. It is recommended to remove only letter and number keys and the F1 through F12 keys; larger keys like the SPACE bar and SHIFT keys are difficult to reattach. If the removed keys are still dirty, they can be washed separately with dish soap and must be air dried.
Once the keys are removed it is time to clean the key-bed. Use the canned air or the small vacuum to clear out the key bed of remaining debris and crumbs. Again use the lint-free cloth and alcohol to wipe out the key bed. Make sure the cloth is damp not soaked and dripping. The key bed can be wiped as much as is needed to remove what the vacuum and canned air failed to remove. Afterward, it is acceptable to dry it a bit with a dry cloth, but it should be allowed to fully air dry. Do not reattach the keys until both the keys and the key-bed are completely dry. Reattaching the keys is fairly easy as long as the sketch or picture of the keyboard layout is referred to. To reattach the keys place them on the correct contact point and press them firmly. They should snap on easily.
Although it may appear complicated, cleaning a keyboard is not as difficult as it seems. Of course, all cleaning should be done with care and regularly no matter how easy. Doing a full cleaning of a keyboard periodically is important. Preventing build up of debris keeps the typing and/or gaming experience fast and enjoyable.
by CDO Technolgy | Sep 8, 2014 | CDO Technology News, CPU, Intel
The one constant in the world of technology and computers is change. No matter how innovative a product is, there always comes a time for updates. So naturally, when Intel initially announced its plans to update its i7 and Xeon CPUs, the news was met with interest. Now that both CPUs are finally out, the market finally gets to give a verdict.
What specifically has changed? Is the buzz around the new CPUs a bunch of hype and nothing more?
If you want to know more about Intel’s latest iteration of its i7 and Xeon line, then you’ve come to the right place.
The Basics
i7
As has been touched upon, the big pull for Intel’s i7 is its long and storied reputation as an unbelievably fast consumer model. Heralded for its developments in memory access and the ease with which it accommodates graphics cards, the i7 has been enthralling enthusiasts and professionals for years.
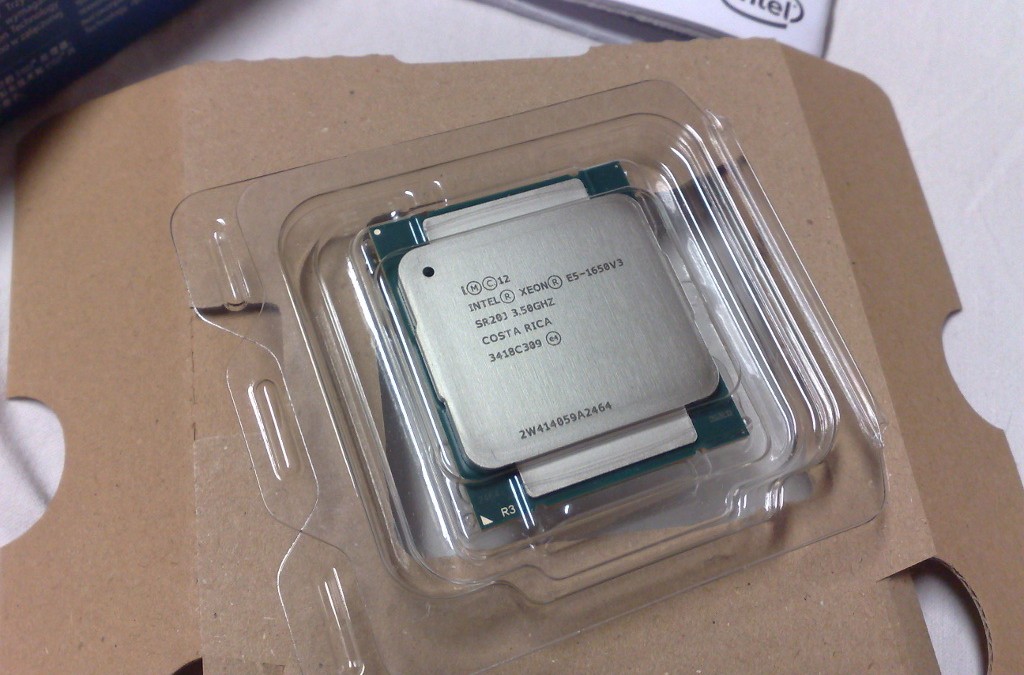
Xeon
The Xeon is a larger core that’s designed with IT professionals and businesses in mind. Noted for its high-end performance, steady innovation, and unique designs, this workstation CPU has addressed many a company’s tech-related concerns.
Notable Changes
Xeon
Released in connection with Haswell-EP rather than Ivy Bridge, the latest Xeon CPUs are actually a family of three chips with 8, 12, and 18 cores respectively. The new releases transmit more information, greater efficiency via its volt management, and overall speed compared to its predecessors.
i7
Also released via Haswell-EP, the newest version of the i7 is actually Intel’s first 8-core offering to the consumer market for those who opt for the higher-end version. Additional changes include the use of a new chipset, a whole new CPU socket, and DDR4 memory.
For Better or For Worse?
Of course, history is riddled with new releases that turned out to be substantially worse than their predecessors. Do the Xeon and i7 fall under this category? Here’s a closer look at some of the biggest key changes.
DDR4 Memory
In the i7, the DDR4 replaced the DDR3 of the previous editions. For pc users, DDR3 memory currently takes up massive amounts of space and power on a PC. DDR4 is a recent development but it’s already proven itself as a more efficient way to handle memory.
8-Core and 18-Core
Although the addition of extra cores increases power, that power comes at a price. In this case, the cost is a reduced turbo frequency. While the i7 and the Xeon are still lightning fast even with the extra cores, reviewers have noticed a sight trade-off.
LGA 2011
The ability to upgrade is a crucial factor in determining the shelf life of technology. Intel’s decision to make both the i7 and the Xeon compatible with LGA 2011 (aka Socket R) bodes well for those who may wish to combine CPUs in the future.
These days, companies and consumers want more flexibility, more power, and better performance from their computers. Through the recent release of the I7 and Xeon CPUs, Intel has shown that it’s up to the challenge. With the integration of new technology and a new socket, the company is also clearly planning for the future.

by CDO Technolgy | Aug 30, 2014 | Business Servers, CDO Technology News, Managed IT Services
What are Servers?
Servers have been around as long as networks. The generic use of a server is to ‘serve’ something to other computers. This communication is done with a variety of different server types with their own specific uses. They act as facilitators, storage, and so on. Not all server types are exclusive; many types can be simultaneously in use on the same server machine. Some servers can even be client computers (those on which people access the data being served) at the same time.
Some common types of servers are most recognizable. These are: FTP, proxy, game, and web servers. These machines are usually somewhat similar to the personal computers found in most homes and businesses, although they usually have specific software and hardware to provide a smoother transition of the data. Servers usually have more storage space, faster processors, and more RAM (random access memory) in order to make them more efficient. Rather than a standard operating system used by the general public (such as Windows 7), servers usually have a server platform. An example of this for a PC would be Microsoft Server.
FTP servers are used to provide access to files, either publicly or after using a login, depending on whether the files are free or for a fee. This functionality is usually included on web servers, as well, to allow easy access to web site owners to upload and download their own files.
Proxy servers are an extra step between the end user (also known as the client computer) and another server (usually a web server) that handles filtering, sharing connections, and helps to improve performance. These are sometimes used by employers to limit employees’ access to certain web sites from the workplace.
Game servers are those used by online games to provide the interface and processing for them. These are most notable when the game is an MMO (massive multiplayer online) game, in which many people around the world are connecting at the same time, to play the same game. There is often interaction between the players, which necessitates a server that is powerful enough to keep up without causing lag (pauses in the gameplay, during which the game continues, but the player misses the action because the server ‘catches them up’ by skipping).
Web servers are by far the most common ones. These are the servers that house the web pages (such as the one you are currently reading). These communicate with the client’s browser and send the information – text, images, videos, etc. – that is requested. Pretty much anything that is accessed through a browser (such as Internet Explorer, Firefox, Chrome, etc.) is processed by a web server.
Others include application servers, which handle linking databases with web servers; list servers, which handle mailing lists for newsletters and other bulk email processes; chat and IRC (internet relay chat) servers, which allow real-time communication between people wherever they are; mail servers which handle basic email; and news servers which carry newsgroups such as the USENET service, although these are not as popular among the general public as they once were.